Home / Rolling Walls Above Stairs
Rolling Walls Above Stairs
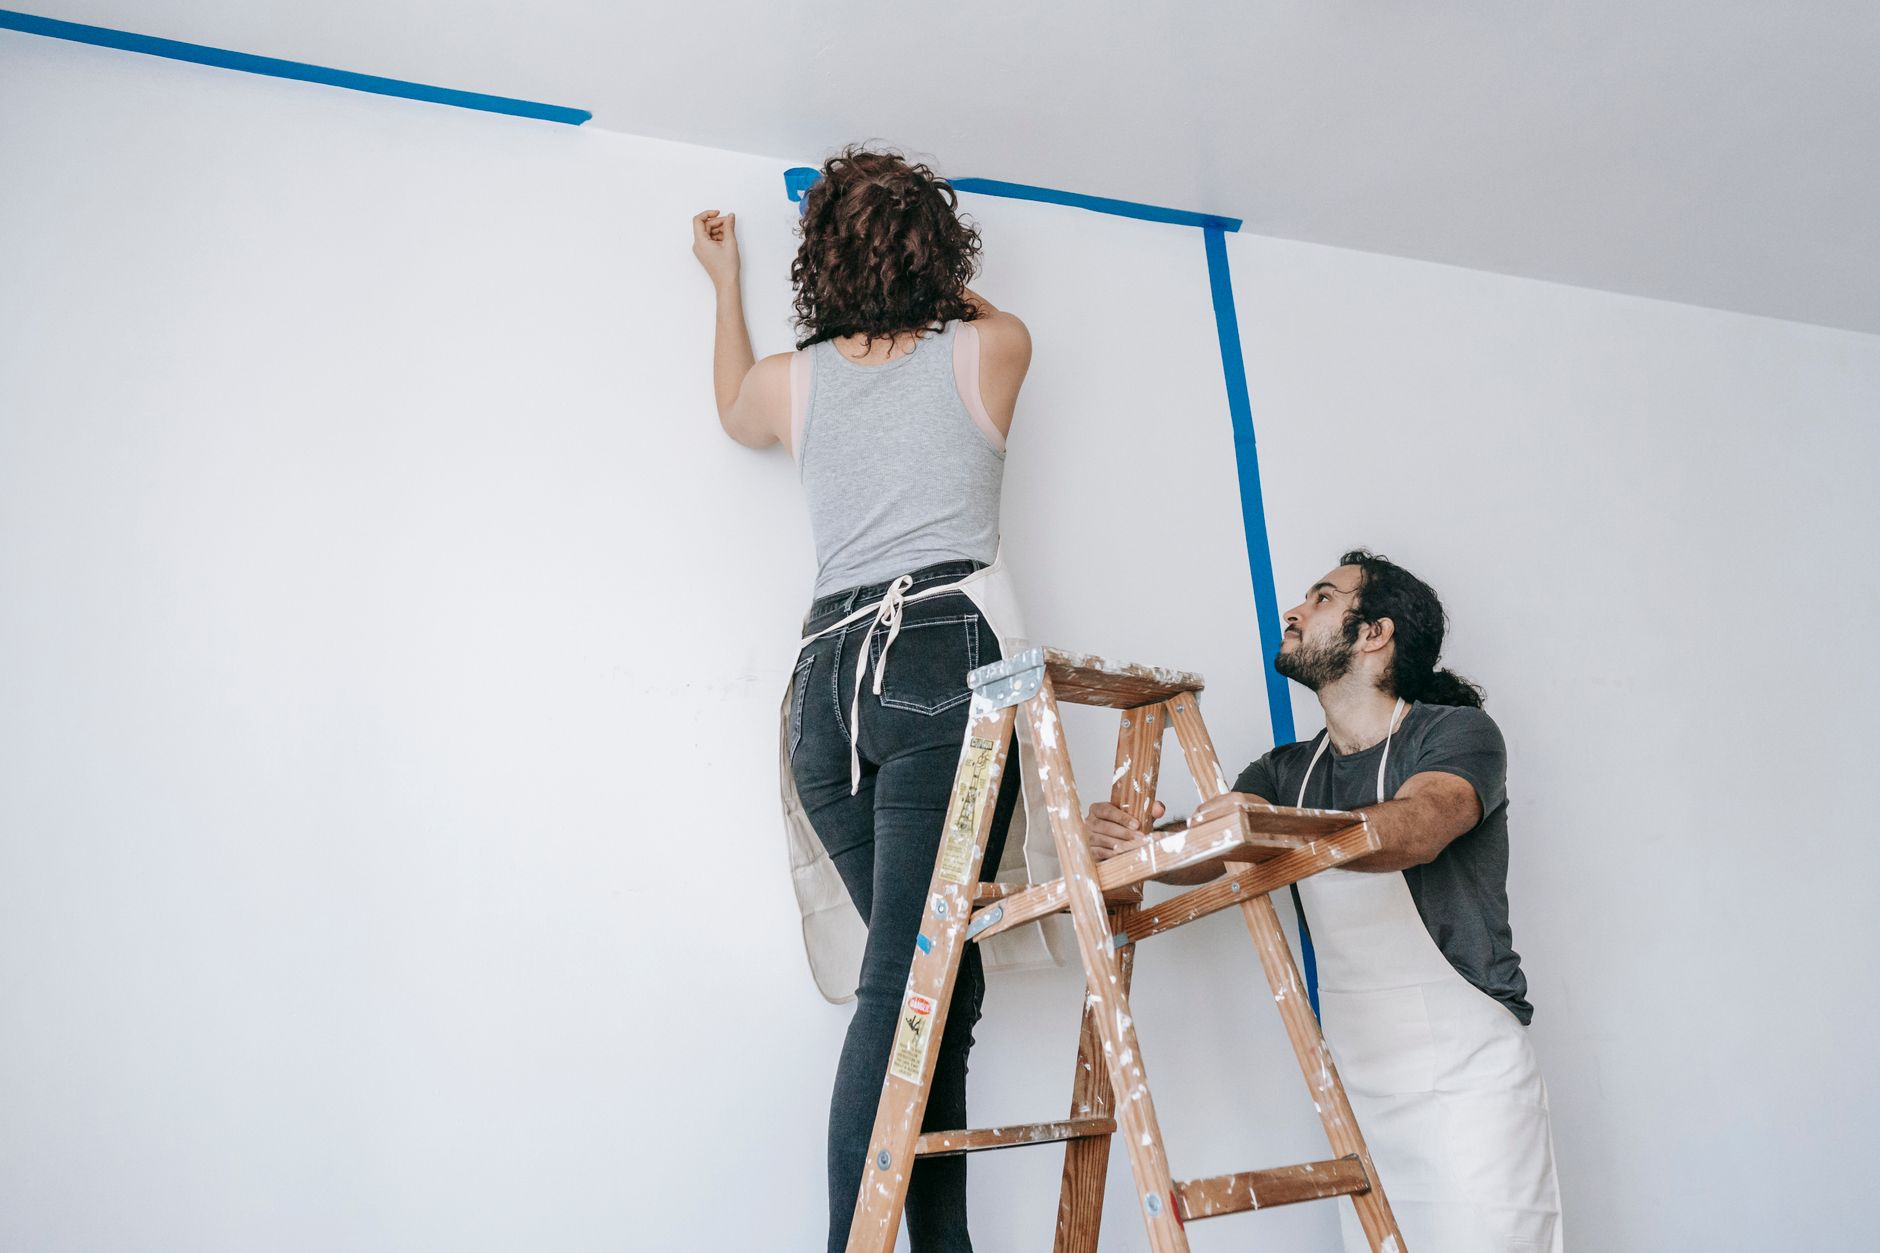
The stairwell wall is a different kind of job
Painting a flat bedroom wall means standing on the floor and rolling. Painting the wall that rises beside a staircase means the floor changes height under your feet, and the top of the wall may sit well beyond the reach of any ordinary ladder. The roller work itself is simple. The challenge is getting a roller to every part of that surface safely, with even pressure and a consistent finish. This guide stays on that one task: rolling the large wall faces that run above a flight of stairs.
Start by reading the geometry
Before opening any paint, stand at the bottom, at the landing and at the top, and look at the wall from each position. Notice where the wall is tallest, which is usually over the lowest step, and where it meets the ceiling at an angle if the ceiling follows the stair rake. Look for a window, a light fixture or a railing that interferes with access. A wall with a two-story height at one end needs a different plan from a short wall beside a half flight.
Next, decide what can be reached from the stair treads, what needs an extension pole, and what requires a taller setup. In many homes, a long pole handles most of the rolling, and only the top band near the ceiling needs a platform. Sorting these zones in advance keeps the work calm and prevents improvised climbing.
Why extension poles do most of the work
A threaded extension pole turns a roller into a long-reach tool. Poles come in adjustable lengths, and the best ones lock firmly so that they do not telescope under pressure. Choose a length that lets you roll from a stable stance while your elbows stay slightly bent. Overextending a pole makes pressure uneven and invites a stumble.
Rolling with a pole feels different from rolling by hand. The weight sits at the end, so keep a firm two-handed grip, one near the base and one a bit higher. Let your body move the roller instead of just your arms, and push upward on the first stroke to spread paint, then roll back down lightly to smooth it. A heavier roller frame with a sturdy cage prevents the cover from wobbling, which shows up as chatter marks on the wall.
Planks, platforms and the problem of a sloped floor
For the part of the wall that stays out of reach, the stair setup becomes the main safety concern. A standard stepladder placed across stairs tilts, and a tilted ladder is a hazard. The accepted solution is a stair platform: a long extension ladder or a ladder with leg levelers, combined with a sturdy plank, creating a flat working surface above the steps. Commercial adjustable ladders with independent legs are designed for exactly this situation, letting one side stand on a higher tread while the other rests lower.
Whatever setup is used, a few principles hold. The platform must be level, not just near level. The plank must be rated for working loads and extend past its supports. Footing must be secure, with nothing slippery beneath. And no one should work alone on a tall stair setup, because a second person can steady equipment and call emergency help if needed. For very tall walls, many owners choose to bring in a professional with scaffolding rather than improvise.
Prepare the surface and protect the stairs
Dust and grease collect on stairwell walls, particularly at hand height where people steady themselves. Wipe the wall with a damp cloth before painting, patch nail holes and hairline cracks, and sand the patches smooth. Spot prime the repairs so that they do not flash through the finish.
Protect the treads with rosin paper or canvas drop cloths taped at the edges. Plastic sheeting is slippery on stairs and should be avoided on any surface where people will walk or stand. Wrap the newel post and railing, and tape the baseboard and any stringer trim. Paint dripping from a pole roller falls a long way, so cover more floor than seems necessary.
Sequence matters on a tall wall
- Cut in the top edge along the ceiling first, working from the platform, because that is the hardest line to draw.
- Cut in any vertical corners and the stair-side edge along the trim.
- Roll the upper section with the extension pole, working in vertical bands about the width of two roller covers.
- Move down in stages, always overlapping the still-wet edge of the previous band.
- Finish the lower area last, where you can stand comfortably and see the wall at close range.
The aim is to keep a wet edge throughout. On a tall wall, the temptation is to paint one side from top to bottom, then start the next side later. That leaves a vertical line where the first band has dried. Work as a continuous band across the width, finishing a full section before taking a break.
Lighting and visibility
Stairwells are often dim, and poor light hides missed spots. Bring in portable work lights and aim them across the wall rather than straight at it, so that shiny wet paint and thin patches show up. Check the work from the bottom of the stairs, the landing and the top after each coat, because the wall is viewed from all three in daily life. A thin area is easiest to fix while the paint is still wet or soon after the first coat sets.
Controlling drips and roller splatter
A roller loaded too heavily throws droplets as it spins, and on a stair wall those droplets can land on every step. Squeeze the roller against the tray grid until it stops dripping, and roll slowly at first when the cover is full. Using a high-quality cover reduces splatter, since cheap covers shed fibers and flick paint more easily. Keep a damp rag in a pocket for quick wipes, and clean drips immediately from the stairs, since dried paint on a tread becomes a slip hazard.
Choosing the paint and the finish
Stair walls get scuffed by shoulders, bags and hands, so a washable finish suits the location. A scrubbable matte or an eggshell is a sensible choice. Because the wall is long and visible from many angles, avoid a sheen so high that it highlights roller texture. Buy enough paint to finish in one session if possible, mix all cans together, and use the same batch on the entire wall. A visible change in color at a mid-wall break looks like a mistake.
Finishing, cleanup and the last inspection
Peel tape while the final coat is slightly tacky, pulling at a low angle to keep the edge crisp. Walk each stair after the drop cloths are removed and look for missed drips on the treads. Clean brushes and rollers thoroughly, and store the pole in a place where it will not be knocked into a freshly painted wall.
The simple rule for stairwell walls is to let tools do the reaching, let a proper platform handle the rest, and never trade safety for a faster finish. A patient, well-planned approach produces a wall that looks as uniform at the top as it does at the bottom.